How to paint this · Acrylic
Paint a whale with a little personality
A friendly nursery-style painting built from one generous blue shape.
Allow 1½–2½ hours, plus drying. Go at your own pace.
Let’s paint →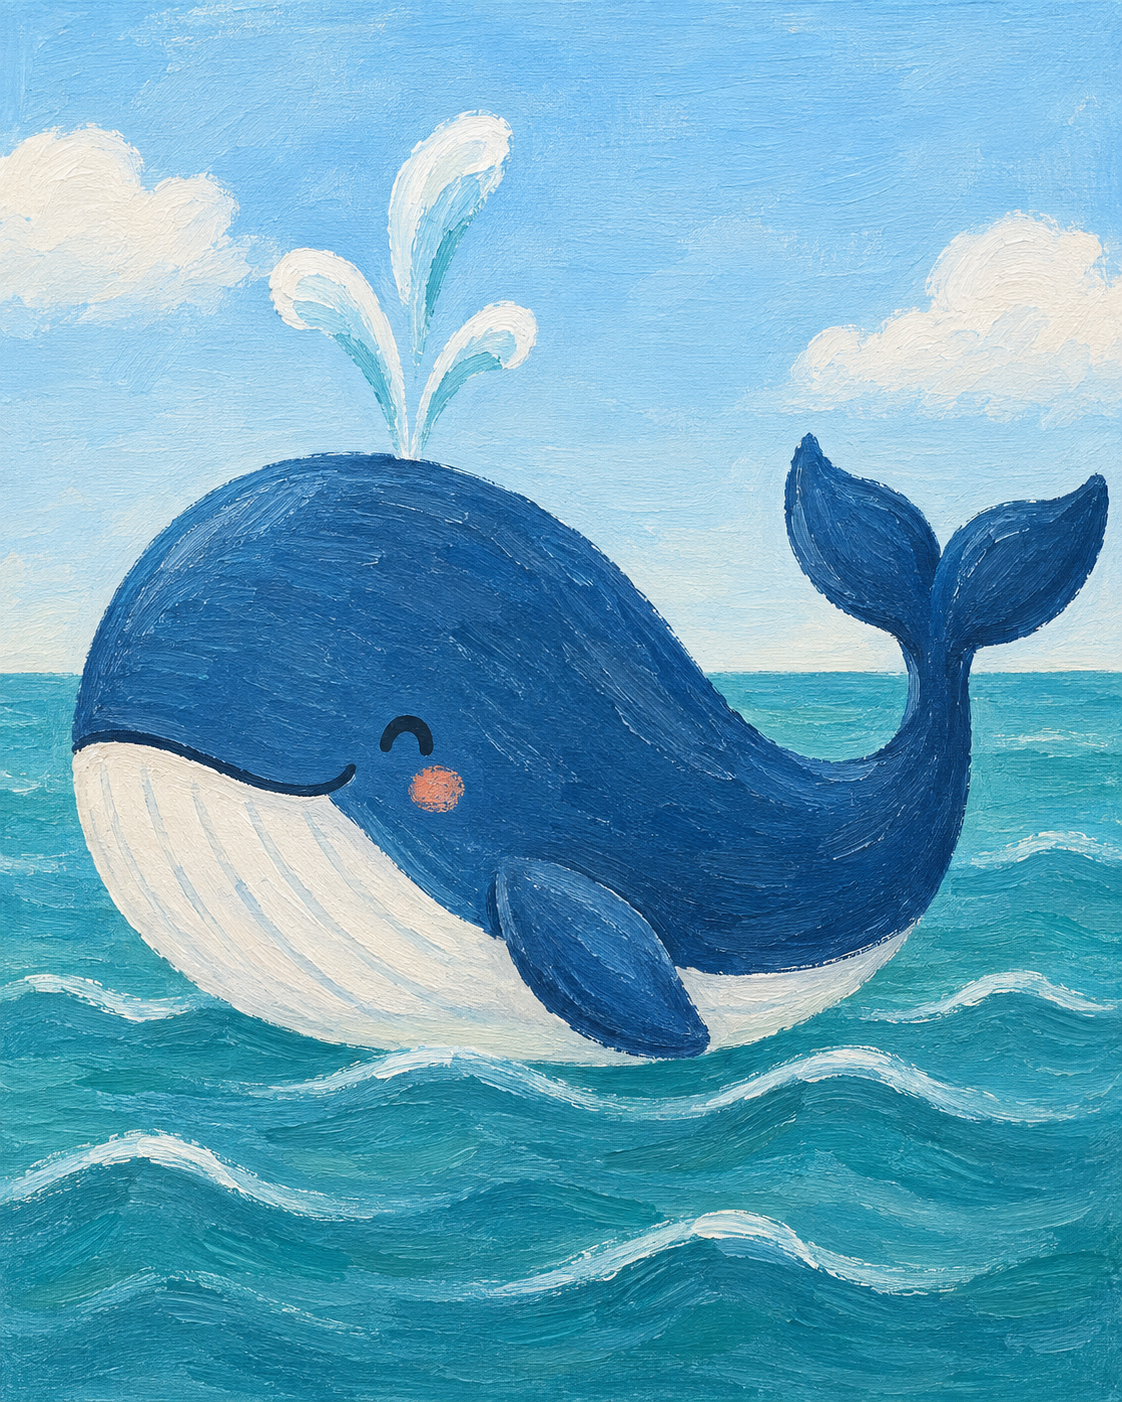
The charm is in the big curve of the body and the tiny smile. There is no need to paint every ripple. Start with the background, add the whale as one blue silhouette, then bring it to life with a cream belly and a few gentle details.
Before the first brushstroke
Gather a few things
- An 8 × 10 inch primed canvas, portrait orientation
- A wide flat brush, a medium round brush, and a small round brush
- Acrylic paints: titanium white, blue, red, yellow ochre, and burnt umber
- A pencil, palette, water cup, and cloth
Use a protected work surface. These steps are for acrylic on a primed canvas, not watercolor.
Your starting palette
Mix small amounts first. Pigments vary, so these are starting mixes, not exact color matches.
- Pale sky
Mostly white + a little blue.
- Ocean teal
Blue + white + a tiny touch of yellow ochre.
- Whale blue
Blue + a little white. Add burnt umber to deepen it.
- Warm belly
White + a tiny touch of yellow ochre.
- Rosy cheek
White + a tiny touch of red and yellow ochre.
Stage 1 of 4
Paint the sea behind your whale
- Mark the horizon near the middle of the canvas.
- Paint pale blue above it and ocean teal below it.
- Soften a few white clouds into the sky with a nearly dry brush.
- Let the background dry completely to the touch.
Before you move on: Do not add the water spout yet. It belongs above the finished whale.
Stage 2 of 4
Make one big whale shape
- Draw a broad, rounded head on the left.
- Curve its back downward toward the right, then up into the tail.
- Add two pointed tail flukes and a curved underside.
- Fill this whole silhouette with whale blue.
Before you move on: Let the body dry. Keep the face blank for now.
Stage 3 of 4
Give the belly and flipper their shape
- Paint a cream crescent along the underside of the whale.
- After it dries, add a second thin cream coat if needed.
- Paint the blue flipper over the cream belly.
- Pull a few pale blue-gray curves down the belly with a small brush.
Before you move on: Let the cream dry before you add the small face marks.
Stage 4 of 4
Add a smile, a splash, and stop
- Paint a small curved eye and an upward smile in deep blue.
- Dab a little rosy paint beneath the eye.
- Add three curved white strokes for the water spout.
- Place a few white wave highlights in front of the whale.
Before you move on: Keep the cheek soft. A few simple face marks are enough.
A small fix, not a fresh start
If something looks a little off
The smile got too big.
Let it dry. Cover it with the body color and try a smaller curve. Acrylic lets you repaint small areas.
The belly lines look harsh.
Let them dry. Soften them with a thin layer of the cream mix, leaving just a hint of each curve.
Make it yours
A different color. Your own little twist.
Try a lavender whale or leave off the cheek for a quieter look. Keep the belly lighter than the body.
Create my own painting →Opens the invite-only art room. Choose your idea there; this sample does not start a paid request.