How to paint this · Acrylic
Your first sailboat, one shape at a time
Two sails, one red hull, and a few lively waves. A coastal painting with a clear place to start.
Allow 1½–2½ hours, plus drying. Go at your own pace.
Let’s paint →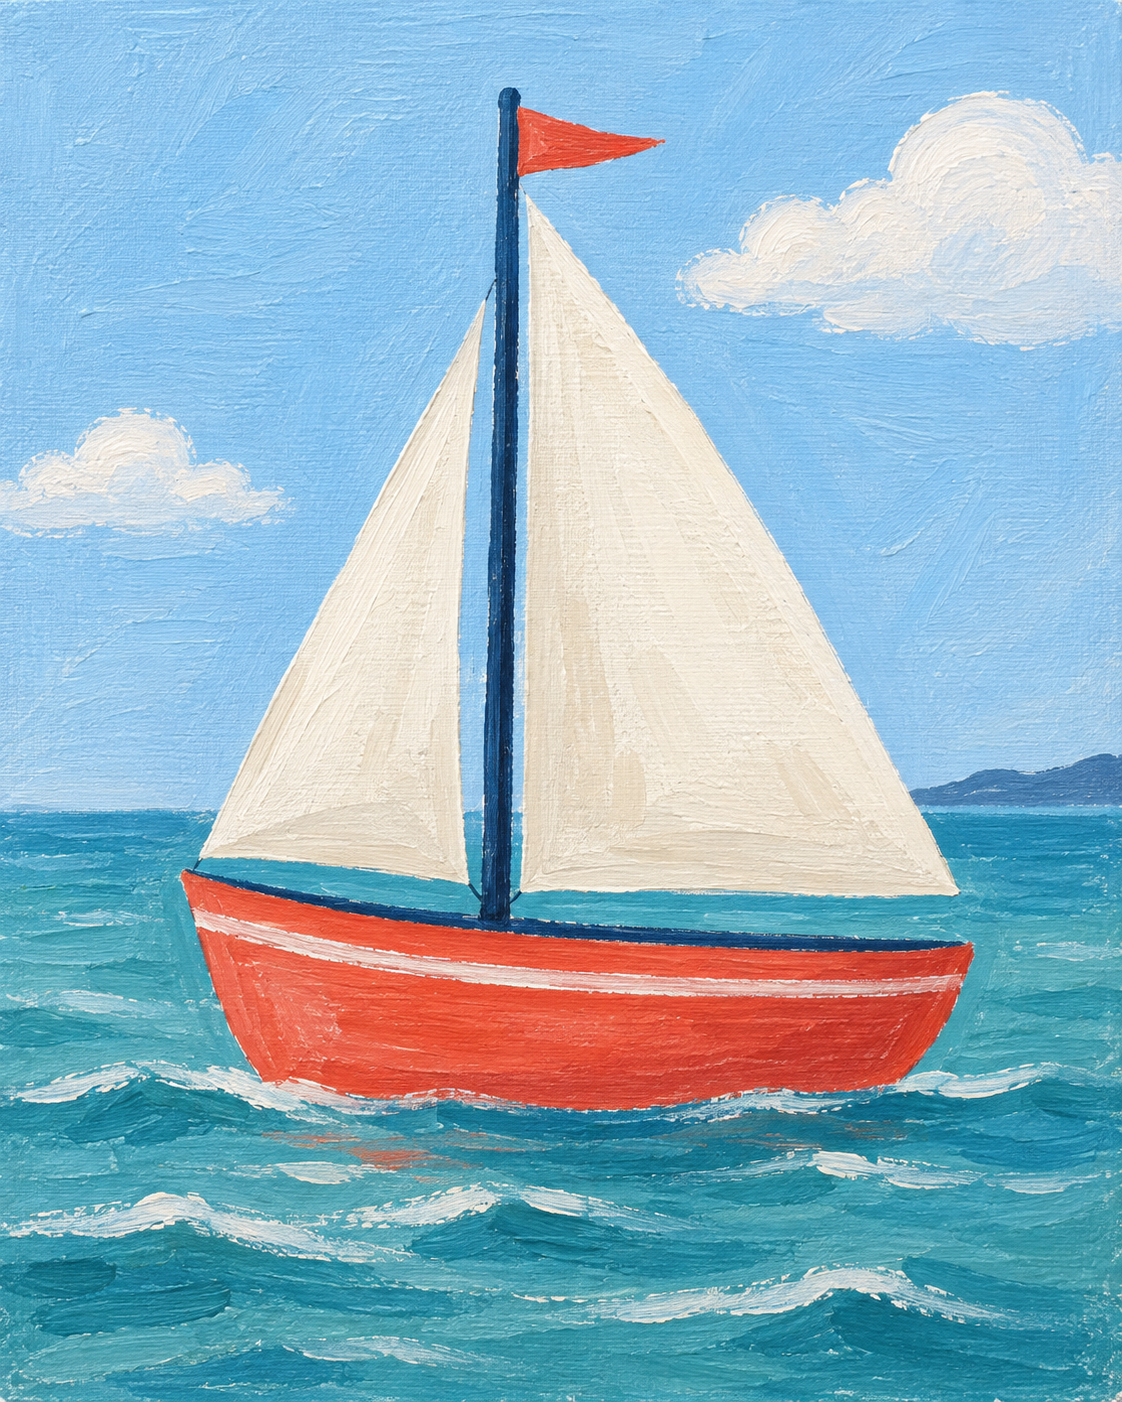
Think of this little boat as a collection of shapes, not a drawing test. Two triangles become sails. A shallow bowl becomes the hull. Paint the background first, then place the boat on top of the dry sea. The final white marks make it feel afloat.
Before the first brushstroke
Gather a few things
- An 8 × 10 inch primed canvas, portrait orientation
- A wide flat brush, a medium flat brush, and a small round brush
- Acrylic paints: titanium white, blue, red, yellow ochre, and burnt umber
- A pencil, palette, water cup, and cloth
Use a protected work surface. These steps are for acrylic on a primed canvas, not watercolor.
Your starting palette
Mix small amounts first. Pigments vary, so these are starting mixes, not exact color matches.
- Open sky
White + a small amount of blue.
- Sea blue
Blue + white + a tiny touch of yellow ochre.
- Cream sail
White + a tiny touch of yellow ochre.
- Coral hull
Red + a little white and yellow ochre.
- Deep blue
Blue + a little burnt umber.
Stage 1 of 4
Give the boat a quiet background
- Mark the horizon a little below the middle of the canvas.
- Paint a pale blue sky and a deeper blue sea.
- Dab in two soft white clouds with a nearly dry brush.
- Let the whole background dry before you draw the boat.
Before you move on: A dry background keeps blue out of the cream sails.
Stage 2 of 4
Draw the boat with three big shapes
- Mark a vertical mast slightly left of center.
- Draw a narrow triangle to its left and a wider triangle to its right.
- Leave a small gap between the sails and the hull.
- Draw the hull as a long, shallow bowl below the sails.
Before you move on: Leave some sky around the mast and some sea below the boat.
Stage 3 of 4
Paint the sails, then the hull
- Fill both sails with cream using the medium flat brush.
- After they dry, add a second thin coat where blue still shows.
- Paint the hull coral red.
- Add a slightly darker red along the bottom curve of the hull.
Before you move on: Let these shapes dry before the narrow dark lines.
Stage 4 of 4
Add the details that make it float
- Paint the mast and the top edge of the hull deep blue.
- Add the small coral flag at the top of the mast.
- Pull a thin cream highlight along part of the hull.
- Place a few broken white wave marks beside and in front of the boat.
Before you move on: Stop while there are still quiet blue spaces between the bright marks.
A small fix, not a fresh start
If something looks a little off
The mast is too thick.
Let it dry. Use the neighboring sky or sail color to trim one edge with a small brush.
The red looks dull.
Check that the underlayer is dry. Add a thin fresh layer of coral rather than mixing more paint on the canvas.
Make it yours
A different color. Your own little twist.
Make the hull sunshine yellow or sea green. Keep the sails pale so the boat stays easy to read.
Create my own painting →Opens the invite-only art room. Choose your idea there; this sample does not start a paid request.